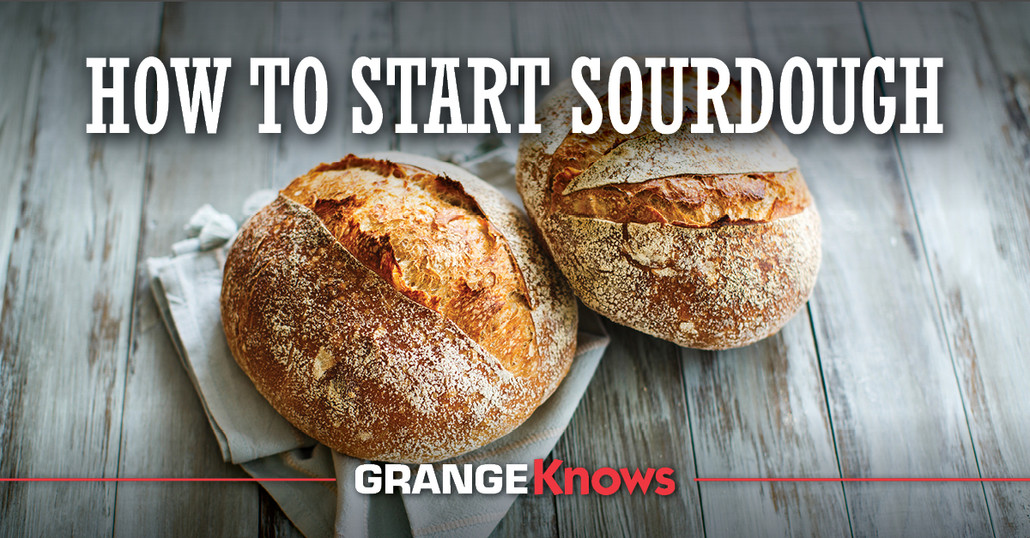
How to Start Sourdough
Posted by Grange Co-op on 10th Sep 2024
Sourdough baking is an art that offers the reward of delicious, homemade bread. The process may appear daunting for beginners, but with patience and practice, you can master it. In this guide, we walk you through the steps, from creating and feeding your starter to baking your first loaf.
What Is Sourdough?
Sourdough or sourdough bread is a type of bread made by fermenting naturally occurring yeast and lactic acid bacteria. Unlike commercial yeast bread, sourdough uses a fermented starter to rise. The starter is a simple mixture of flour and water, where the yeast and bacteria thrive. The yeast leavens the dough, and the lactic acid bacteria contribute to the bread's tangy flavor.
What You'll Need
To make sourdough, you'll need:
- Flour: Use unbleached all-purpose or whole-grain flour, as the natural microorganisms present in the grain will help begin fermentation.
- Water: Use filtered or non-chlorinated water. Chlorine can inhibit the growth of beneficial bacteria and yeast.
- A jar: This is used to hold and cultivate the starter. Opt for glass or plastic jars with loose-fitting lids.
- A kitchen scale: A scale is invaluable for accurately measuring the flour and water, especially when feeding your starter.
Creating Your Sourdough Starter
The starter is the heart of sourdough baking. Below is a step-by-step process for creating the starter:
Day 1
Combine equal parts of flour and water in your jar, i.e., 1 cup of flour and ½ cup of water (120g flour + 120g water). Stir the mixture thoroughly until all the flour is fully hydrated and no dry bits remain. Cover the jar loosely with a lid or thick, breathable cloth and let it sit at room temperature for 24 hours.
Days 2-5
Each day, discard half of the starter mixture and "feed" it with a fresh 1:1 mix of flour and water. For instance, if you have 1 cup of starter, discard ½ cup and add ½ cup of flour and ¼ cup of water (60g flour + 60g water). Stir well and cover.
After a few days, you should notice some bubbling or signs of activity. This indicates that the natural yeast and bacteria are active.
Days 6-7
Continue feeding the starter daily. By day 7, your starter should be bubbly and have a pleasant, sour smell. It's now ready to use in baking.
Baking Your First Sourdough Loaf
Once your starter is active, you're ready to bake your first loaf of sourdough bread.
Mixing
Start by mixing your ingredients: flour, water, and starter. Combine 1 cup of starter with 1 cup of water in a mixing bowl, then add 3 cups of flour. Squish the mixture with your hands until the flour is fully absorbed.
Cover the bowl and let it rest for 30 minutes to 1 hour. This resting period helps the flour absorb water and begin gluten development.
Kneading and Folding
After allowing it to rest, add 1-2 teaspoons of salt to the dough and knead it briefly until the salt is incorporated. Every 30 minutes, stretch the dough from the sides, fold it over itself, and rotate the bowl after each fold. Repeat this process 3-4 times over the next 2 hours.
Bulk Fermentation
Once the dough has been folded, cover it and let it rise at room temperature for 3-4 hours or until it has doubled in size. This is the bulk fermentation phase, where the dough develops flavor and structure.
Shaping and Proofing
After the bulk fermentation, the dough needs to be shaped and proofed before baking. This process involves giving the dough its final form and allowing it to rise once more.
Shaping the Dough
Turn the dough out onto a lightly floured work surface. Gently shape it into a round or oval loaf by folding the edges into the center and then turning it over, seam-side down. Use your hands to create tension on the surface of the dough. This helps it hold its shape during baking.
Proofing the Dough
Place the shaped dough into a proofing basket or a bowl lined with a floured cloth. Cover it with a cloth and let it rise at room temperature for 2-4 hours or until it has visibly expanded. Alternatively, you can refrigerate the dough for an overnight proof. Proofing enhances the flavor and makes the dough easier to handle.
 Baking the Sourdough
Baking is the final step, which involves:
- Preheating the oven: Place your Dutch oven (with the lid) inside the oven and preheat to 450°F (230°C). The Dutch oven acts like a commercial oven by trapping steam to create a crispy crust.
- Scoring: Gently turn the dough out onto a piece of parchment paper. Using a sharp knife or a scoring tool, score the top of the dough with a few deep slashes. This allows the steam to escape and the dough to expand during baking.
- Baking: Once preheated, carefully remove the Dutch oven using pot holders and place the dough inside. Cover with the lid and bake for 20 minutes. After 20 minutes, remove the lid and bake for an additional 20-25 minutes or until the crust is deep golden brown.
- Cooling: Allow the bread to cool completely on a wire rack before slicing. This cooling period is crucial as it lets the interior of the bread set properly.
Ready to Start Your Sourdough Journey?
Baking sourdough is a rewarding experience that allows you to enjoy freshly baked bread from your kitchen. Whether you're a beginner or an experienced baker, Grange Co-op has everything you need to succeed. Visit us today to stock up on the essentials and start creating delicious, homemade bread!
