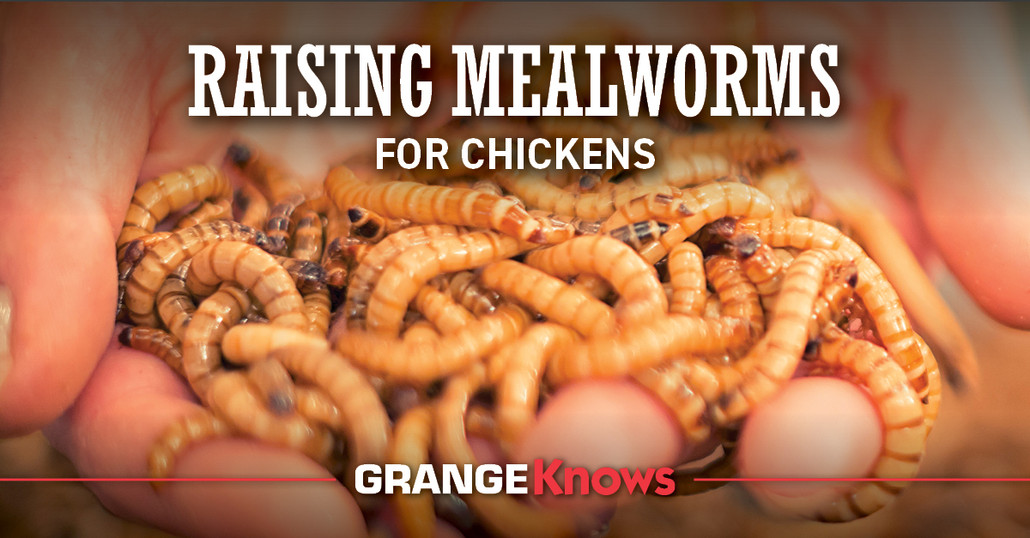
Raising Mealworms for Chickens
Posted by Grange Co-op on 14th Jan 2025
When it comes to keeping your backyard chickens happy and healthy, few treats beat the nutritional punch of mealworms. These protein-packed insects are a favorite snack among chickens, providing essential nutrients for egg production, feather growth, and overall health. While you can always buy mealworms at Grange Co-op, raising them yourself is a rewarding, cost-effective project that’s easier than you might think.
In this blog, we’ll explore why mealworms are beneficial for chickens, how to set up your own mealworm farm, and tips for keeping your operation running smoothly. Whether you’re a first-time chicken keeper or a seasoned homesteader, this guide will help you get started.
Why Feed Mealworms to Chickens?
Mealworms are a superfood snack for chickens. These little critters are rich in protein, fat, and essential nutrients that support your flock’s health. Here’s why they’re a great addition to your chickens’ diet:
- Protein Boost: Mealworms contain about 50% protein, making them ideal for chickens during molting or cold weather when they need extra energy and nutrients.
- Better Egg Production: The protein and fat in mealworms can enhance egg quality, leading to stronger shells and vibrant yolks.
- Feather Growth: Chickens undergoing a molt require protein to regrow their feathers. Mealworms help them recover faster.
- Entertainment: Chickens love the thrill of chasing and pecking at mealworms. It’s a treat and an activity in one!
How to Start Raising Mealworms
Setting up a mealworm farm may sound intimidating, but it’s a straightforward and inexpensive process. All you need is a bit of space, a few supplies, and some starter mealworms.
What You’ll Need
- Plastic bins or drawers: A shallow, ventilated container works best. You can use stackable plastic drawers to maximize space.
- Substrate: Mealworms need a bedding material to live in and eat. Oatmeal, wood pellets, or chicken feed are popular choices.
- Starter mealworms: Purchase live mealworms from your local farm store or online.
- Moisture source: Mealworms get water from foods like carrots, potatoes, or apples.
Step-by-Step Setup
- Prepare the Container
Choose a plastic bin or drawer with a smooth interior (to prevent escapes) and drill small holes in the lid for ventilation. - Add Bedding
Fill the container with a 1-2 inch layer of substrate, such as chicken food or oatmeal. This acts as both bedding and food for your mealworms. - Introduce Mealworms
Add your starter mealworms to the substrate. A good starting number is around 500-1,000 mealworms. - Provide Moisture
Place a few slices of carrot, potato, or apple on top of the substrate. These will provide the necessary moisture for the mealworms. Replace them every few days to prevent mold. - Monitor and Maintain
Keep the container in a warm, dark place. Mealworms thrive in temperatures between 70°F and 80°F. Avoid direct sunlight, which can overheat them.
The Mealworm Life Cycle
Understanding the mealworm life cycle is key to maintaining your farm. Mealworms go through four stages:
- Egg: Tiny and almost invisible, eggs hatch into larvae (mealworms) within 1-4 weeks.
- Larva: This is the stage where chickens enjoy eating them. Mealworms remain in this phase for about 10 weeks.
- Pupa: Mealworms transform into pupae, which look like small, curled-up aliens. Chickens don’t typically eat pupae.
- Beetle: Pupae turn into darkling beetles, which lay eggs and start the cycle over again.
To ensure a continuous supply of mealworms, leave some to mature into beetles. A good rule of thumb is to keep about 25% of your mealworms for reproduction.
Feeding Mealworms to Chickens
While mealworms are a nutritious treat, they should only make up about 10% of your chickens’ diet. Balance is key to keeping your flock healthy.
How to Feed Mealworms
- By Hand: Toss a handful of mealworms into the coop and watch the chickens scramble to grab them.
- Scatter Method: Spread mealworms in the run to encourage foraging behavior.
- Mix with Feed: Combine dried mealworms with regular chicken feed for an extra protein boost.
Tips for Success
- Prevent Escapes: Always use smooth-sided containers and secure lids to keep mealworms contained.
- Avoid Overcrowding: Too many mealworms in one container can lead to stress and slower growth.
- Control Humidity: Excess moisture can cause mold, which is harmful to mealworms. Keep the substrate dry and replace moisture sources regularly.
- Clean Regularly: Remove old food and frass (mealworm waste) every few weeks to keep the environment healthy.
Why Raising Mealworms Is Worth It
Raising mealworms is not only beneficial for your chickens but also a fun and educational project for the whole family. Kids can learn about life cycles and sustainability, while adults enjoy the cost savings of producing their own chicken treats. Plus, you’ll always have a fresh, reliable supply of mealworms on hand.
Sustainable Chicken Keeping
Mealworm farming aligns perfectly with sustainable practices. By raising your own insects, you’re minimizing waste and contributing to a more self-sufficient homestead. Your chickens will enjoy always having mealworms handy!
Final Thoughts
Raising mealworms for your chickens is a simple and rewarding way to enhance their diet and improve their health. With just a few supplies and some patience, you can set up a mealworm farm that keeps your flock happy all year long.
If you’re ready to get started, visit your local Grange Co-op for all the supplies you need. At Grange Co-op, we’re here to help you every step of the way. Your chickens will thank you with happy clucks and plenty of fresh eggs!
